cream

French Toast Sticks

French-Toast-Sticks_v2_01.jpg

This week we are channeling our inner child with French toast sticks! The extra surface area achieved when preparing French toast sticks brings twice the flavor while enrobing wonderfully custardy insides. Their handy shape means they are destined for easy dipping, serving, and sharing with the whole family. Good Morning!

Cinnamon-Sugar French Toast Sticks
Serves 4

Ingredients:
1 large loaf bread (such as a brioche or Italian loaf that’s 3-4 days old)
3 eggs
3/4 cup heavy cream
1 teaspoon vanilla
1/4 teaspoon salt
1/2 teaspoon allspice
1/2 cup white sugar
1 tablespoon cinnamon
4 tablespoons salted butter, divided

For Serving:
Pure Maple syrup
Seasonal berries

Directions:
1. Trim the crust off of the bread and slice it into equally-sized strips, roughly 1" thick.

2. In a medium bowl, whisk together the eggs, cream, vanilla, salt, and allspice. Pour the mixture in a shallow bowl. In a small bowl, mix together the sugar and cinnamon. Spread the mixture out on a medium-sized plate.

3. Melt 2 tablespoons butter in a medium-large skillet.

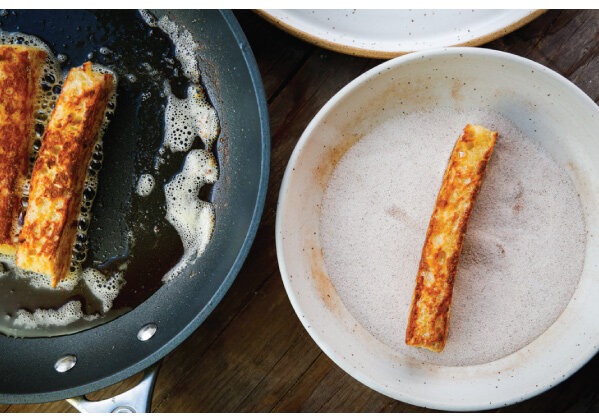
4. Separate the bread sticks into two even batches. Starting with the first batch, dredge the bread sticks one at a time in the egg mixture by rolling them for a few seconds to evenly coat the bread all the way around. Shake off any excess egg mixture.

5. Place a few of the sticks of bread into the skillet, spacing them evenly, with about 1" in between (this spacing will make them easy to grab and turn). Cook the French toast sticks over medium-low heat using tongs to turn. Cook evenly until all sides are golden brown (roughly 1-2 minutes on each side).

6. Immediately remove the sticks from the pan and coat with the cinnamon and sugar while the French toast sticks are still hot, repeating until all of the sticks from the first batch are coated.

7. Melt the remaining 2 tablespoons of butter and repeat Steps 4-6 with the remaining sticks.

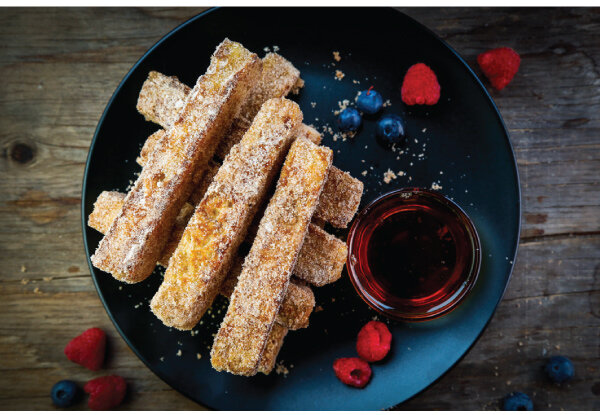
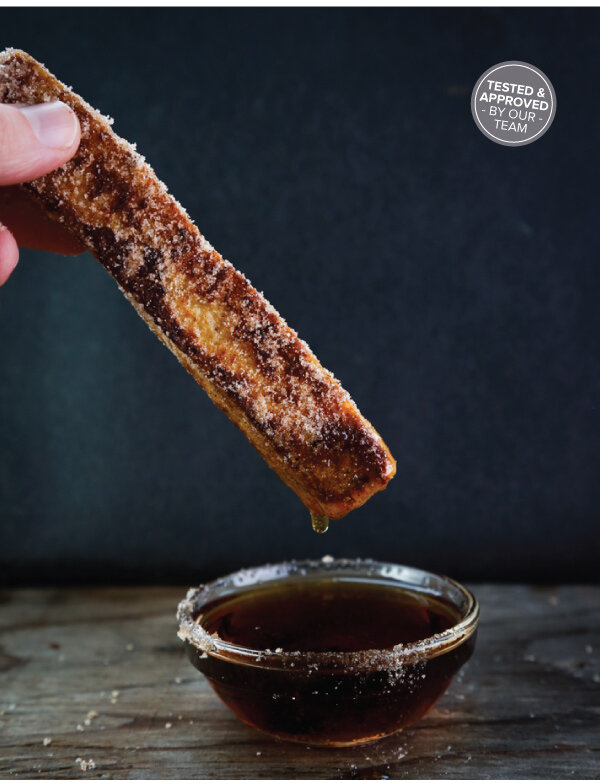
8. Once all the French toast sticks have been cooked and coated, serve immediately with warm maple syrup and fresh seasonal berries.

Salted Caramels

Caramels_2020_v2_01.jpg

Everyone loves the captivating flavors of fresh homemade caramels! 

The little known secret? They are deceptively easy to make. Fresh, homemade caramels make great treats for sharing as little gifts in the holiday weeks ahead. IN THIS ISSUE, we show you, step-by-step, how to  master boutique caramels made in your own kitchen.

Handcrafted Caramels
Makes about 120 - 140 pieces, depending on size

Ingredients:
Vegetable oil (for coating pan)
3 cups heavy cream
3 cups granulated white sugar
1 cup brown sugar, packed
2 cups light corn syrup
1-1/2 teaspoons Kosher salt
1/2 cup (1 stick) unsalted butter
2 teaspoons vanilla extract

Directions:
1. Prepare a 9 x 13 rimmed pan prior to starting to cook. Oil the bottom and sides of the pan well using a tasteless vegetable oil, one that stays liquid at room temperature. Line the pan with a criss-cross of parchment paper cut to match the pan’s size with a little extra at the ends; avoid any wrinkles in the corners. Set aside.

2. Wipe the interior of a large saucepan or Dutch oven with a light coating of oil. Measure the heavy cream, sugars, light corn syrup and salt into the pan. Over medium-low heat, stir the ingredients together until well-combined and the sugar is dissolved.

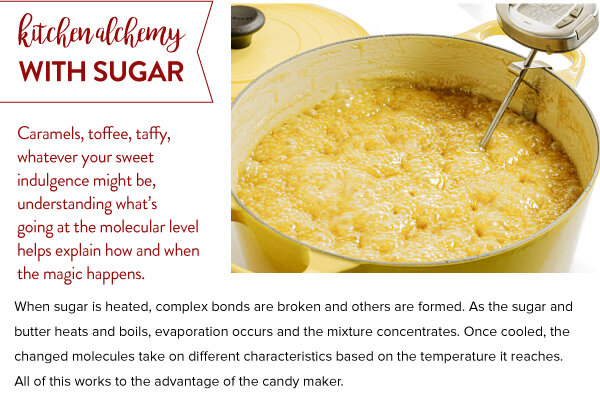
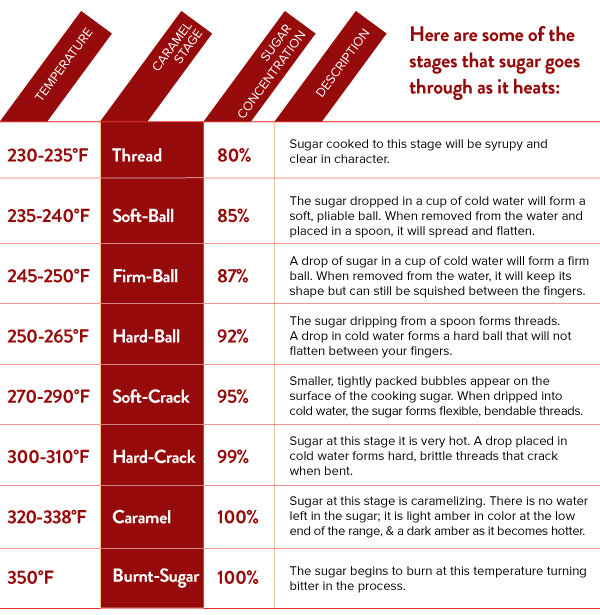
3. Increase the heat to medium. Continue stirring until the cream-sugar mixture reaches a boil. Stop stirring. Using a brush dipped in warm water, wash down any sugar crystals that may have formed on the edge of the pan. Allow the mixture to cook, without stirring, until it reaches the firm-ball stage, around 248°F as measured on a candy thermometer clamped to the side of the pan. (If you do not have a candy thermometer, use a water test to check for the appropriate sugar stage. A drop (approximately 1/4 teaspoon) of caramel in cold water should form a firm ball, yet be pliable.)

4. Remove the caramel from heat, add the butter and vanilla stirring until melted and well-combined with the cream-sugar mixture. (Cutting the butter into half-inch cubes will help to efficiently melt and distribute this key ingredient.)

5. Carefully pour the caramel into the prepared, lined pan. Allow the caramel to set and cool to room temperature. This will take several hours or overnight. (For evenly sized caramels, make sure the pan is setting on a level surface.)

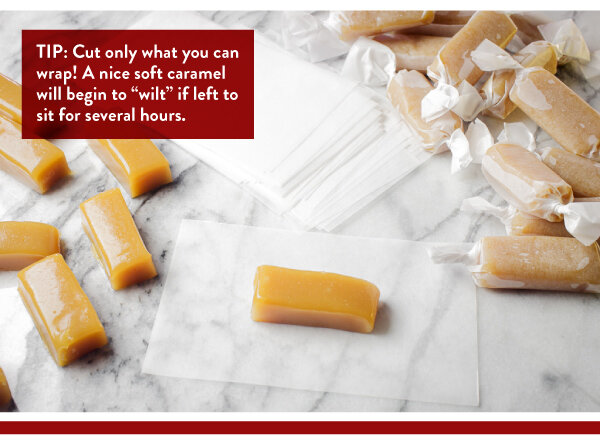
6. Once cooled, lift the sheet of caramel from the pan to a safe cutting surface. The caramel should retain its shape. Neaten the edges of the caramel to remove the rounded edges. Cut the caramel slab vertically and horizontally in desired sizes and shapes with a long-bladed cook’s knife. We suggest 1-1/4-inch by 1/2-inch pieces, or 1-inch squares. Wrap the pieces in nonstick wrap such as parchment paper. Store at cool room temperatures for up to 2-3 weeks.

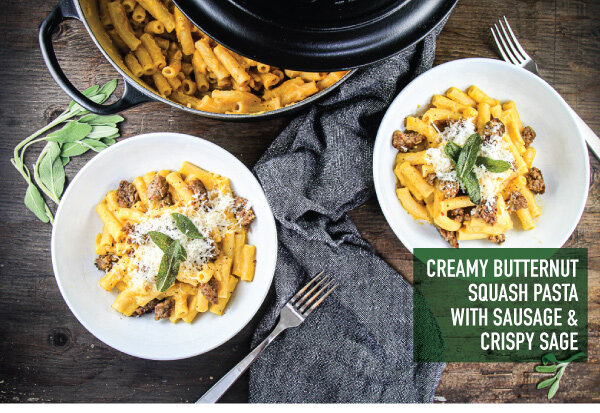
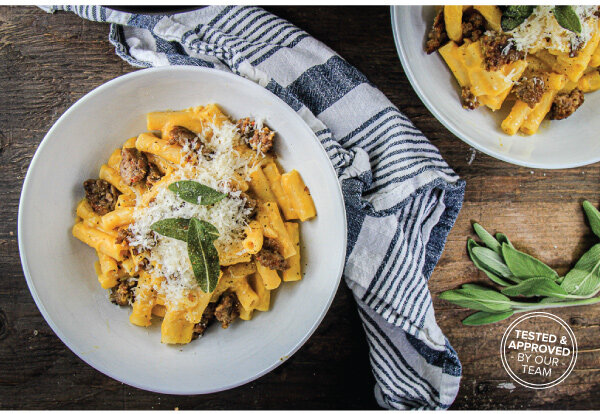
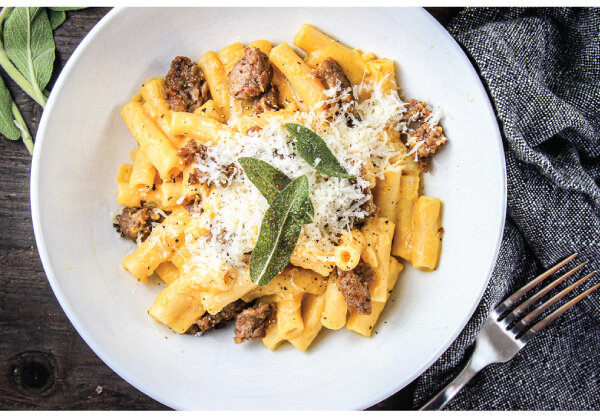
Creamy Butternut Squash Pasta with Sausage and Crispy Sage

Fall flavors unite in a most delightful way in this creamy, dreamy pasta!

IN THIS ISSUE, butternut squash is transformed into a tasty sauce. The naturally sweet sauce is balanced with spicy sausage, then generously topped with savory cheese and crispy sage leaves. It’s a wonderful kind of deliciousness!

Creamy Butternut Squash Pasta with Sausage and Crispy Sage 
Serves 8 - 10 

Fall flavors unite in a most delightful way in this creamy, dreamy pasta! Butternut squash is transformed into a tasty sauce. The naturally sweet sauce is balanced with spicy sausage, then generously topped with savory cheese and crispy sage leaves. It’s a wonderful kind of deliciousness! 

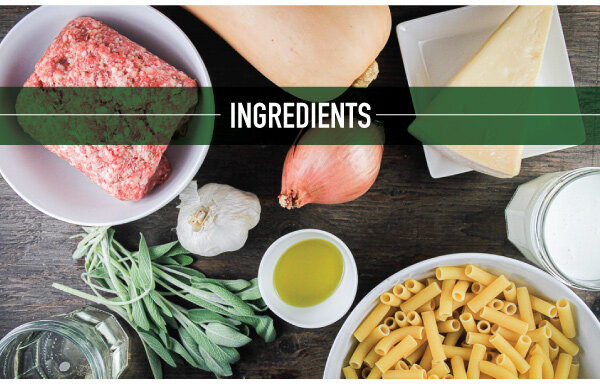
Ingredients: 
1 medium butternut squash, peeled, cut in half, seeds removed 
4 tablespoons butter 
20-25 fresh sage leaves 
1 lb hot Italian ground sausage 
2 tablespoons olive oil 
1 large shallot, finely diced 
2 cloves garlic, minced
1/2 cup white wine 
1 cup heavy whipping cream 
1 teaspoon Kosher salt 
1/2 teaspoon black pepper 
2 lbs pasta, ziti or another tube pasta 

Garnish: 
crispy sage leaves parmesan cheese, shaved or grated

Directions: 
1. Prep the butternut squash: Wash the squash well, cut both ends o the squash to create a flat surface. Peel the squash with a peeler. Slice in half length-wise and scoop out the seeds. 

2. Using a large pasta pot with a steamer basket, steam the butternut squash until it is fork tender, about 30-35 minutes. 

3. Remove the squash and purée with a blender or immersion blender until it is smooth. 

4. Meanwhile, in a large Dutch oven, sauté the sausage into bite-sized chunks until nicely browned. Remove the sausage from the pot. Set aside. Reserve the pot and drippings for the shallots, garlic, and the next steps in sauce making. 

5. Next, in a nonstick skillet, prepare the crispy sage leaves. Melt the butter, then sizzle the sage leaves on each side until just crisp. Place the leaves on a paper towel-lined plate to cool. Reserve the sage butter to sauté the shallot and garlic, and for adding to the sauce. 

6. Using the Dutch oven, add any remaining butter from the sage. Sauté the shallot and garlic until translucent. Add additional olive oil to sauté, as needed. 

7. Once the aromatics are softened, add 1/2 cup of white wine and simmer until the wine is reduced by half. 

8. Add the blended squash to the aromatics and stir until combined. Stir in the heavy cream. Gently simmer the sauce until the pasta is ready. Season with salt and pepper, to taste. 

9. Meanwhile, cook the pasta until al dente, reserve at least 1 cup of the pasta water, then drain well. 

10. Add the pasta to the sauce. Add up to 1 cup of reserved pasta water until the sauce reaches a silky consistency. 

11. Add the sausage to the pasta. Dish the pasta, and garnish with a hearty portion of freshly shaved or grated parmesan cheese. Top each serving with several crispy sage leaves.

Fresh Cream Puffs with Berry Filling

Cream_Puffs_v3_01.jpg

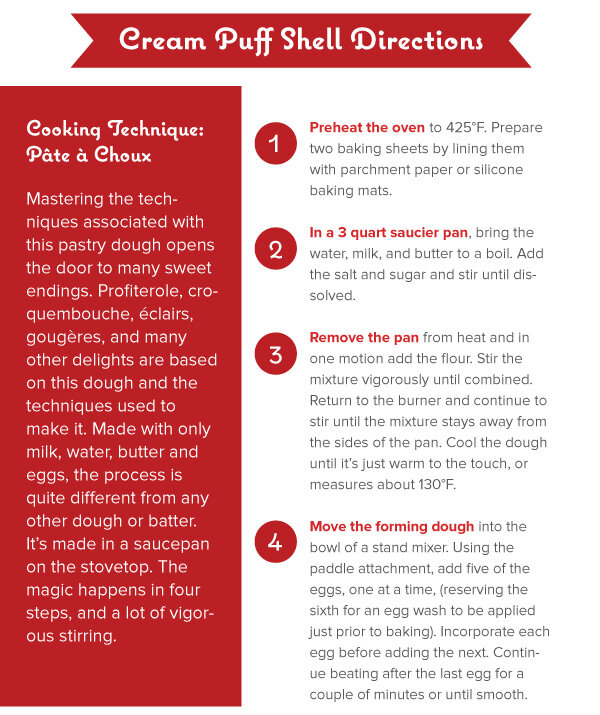
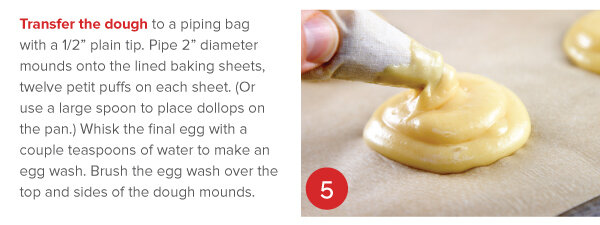
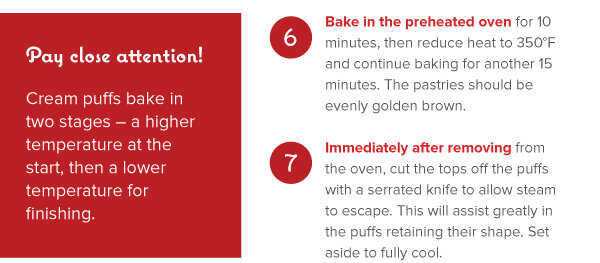
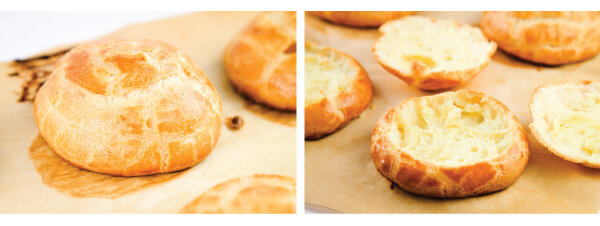
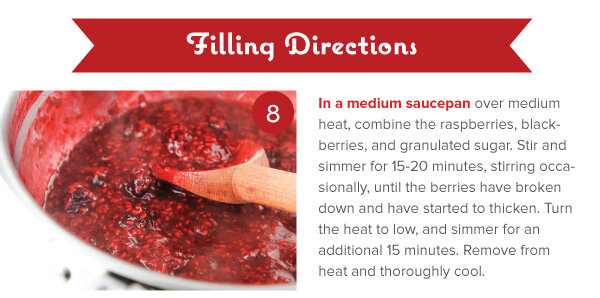
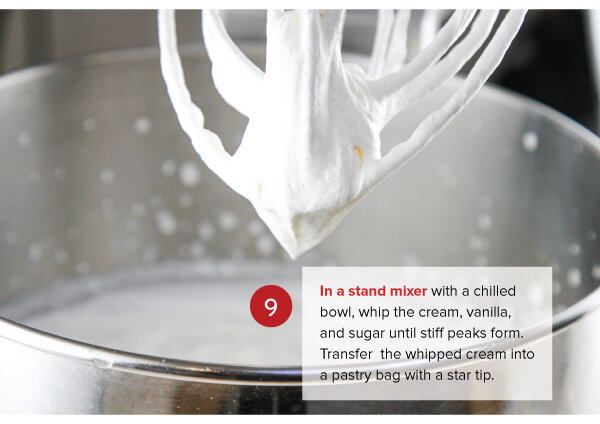
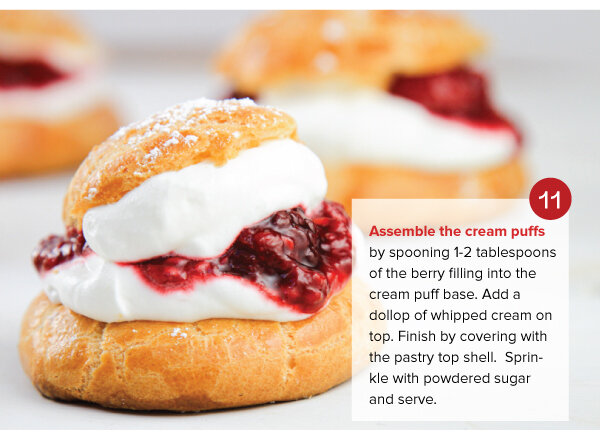
Expanding your repertoire of kitchen skills these days? Add cream puffs to your list of culinary mastery while celebrating the return of fresh berries. The light, delicate, cream puffs with sweet berry filling are perfect for Mother’s Day, too! This recipe starts with a classic French pâte à choux and finishes things off with bright, jammy berries, and homemade whipped cream. 
A Good Time to Have Brunch In!

Brunch2020_v3_01.jpg

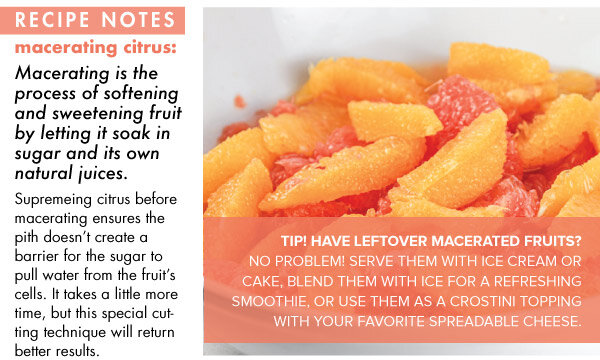
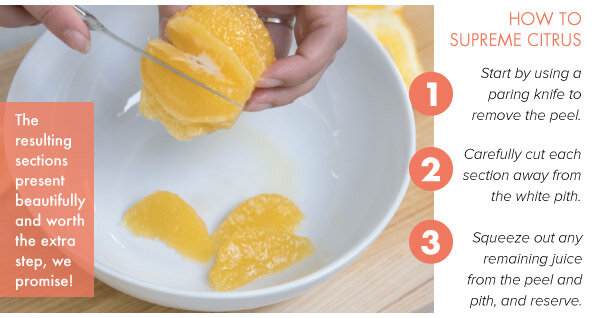
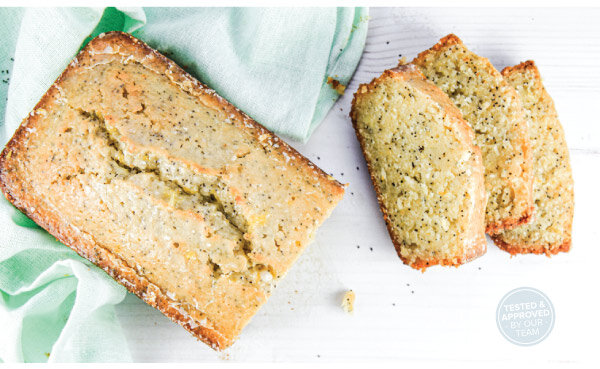
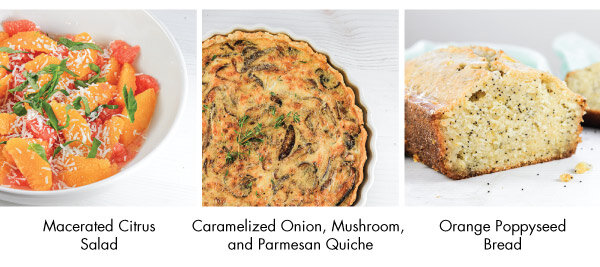
There is no better time than the present to brunch . . . IN! If breakfast is the most important meal of the day, brunch is the most fun! Brunch implies a leisurely sort of day — where our schedules are less relentless and time together is well spent. Whether you spend it with family or a few good friends, we've composed a foolproof menu worth celebrating.

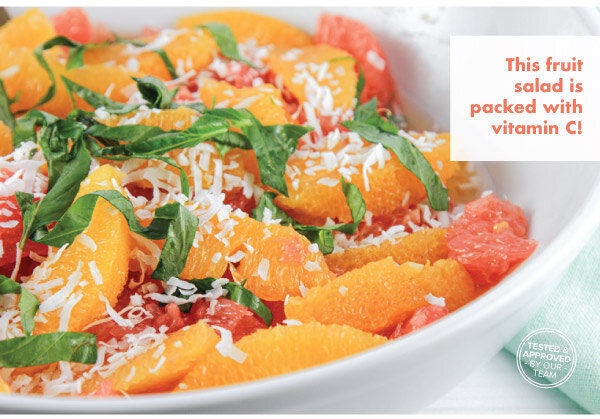
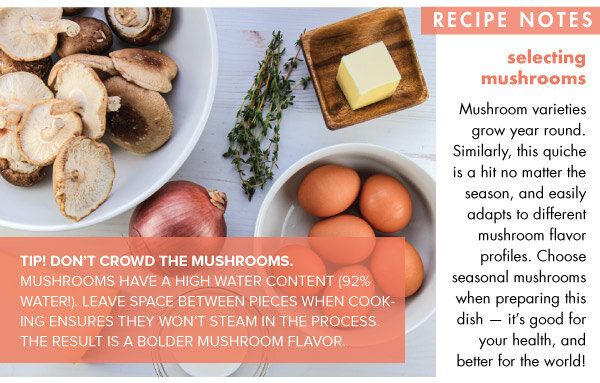
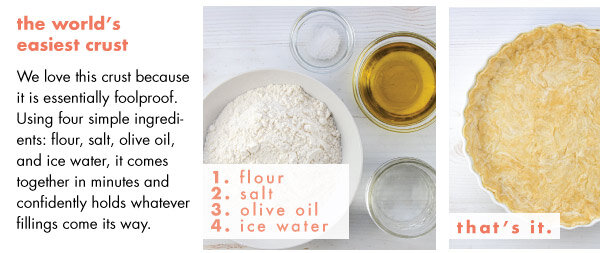
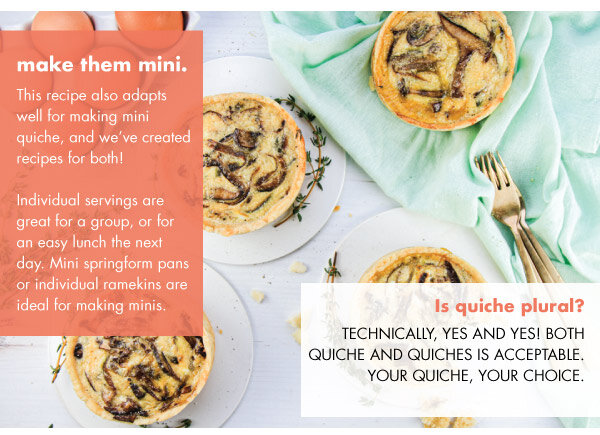
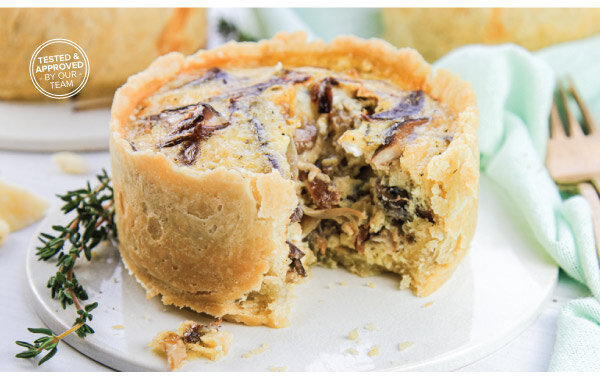
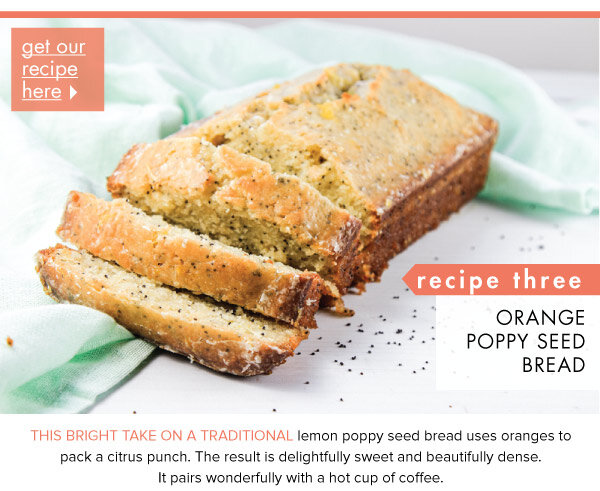
IN THIS ISSUE, we feature a Caramelized Onion, Mushroom, and Parmesan Quiche, Macerated Citrus Salad, and a side of Orange Poppyseed Bread.

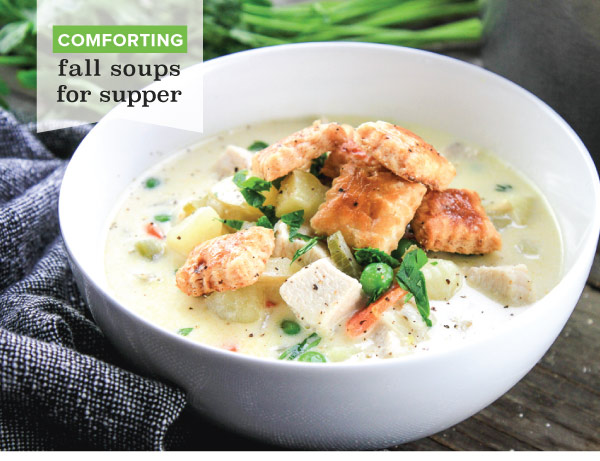
Comforting Fall Soups for Supper

TONIGHT! Knife Sharpening - PLUS, Comforting Fall Soups for Supper
Fall Soups
Fall Soups
Fall Soups
Classes and Events
Introduction
Event
Events
Join Us on Facebook
Featured Products
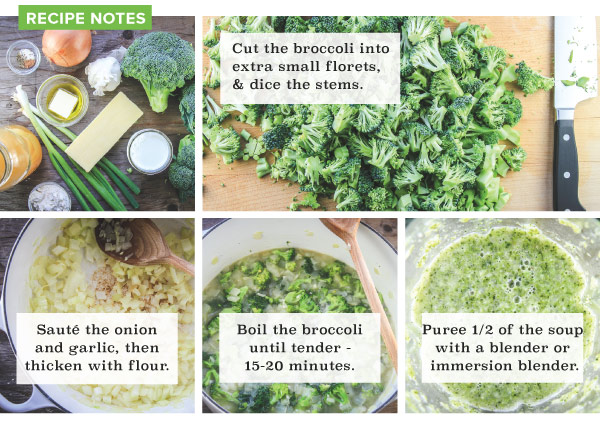
recipeone Easy Cheesy Broccoli Soup
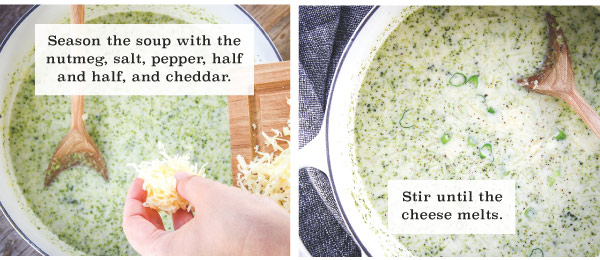
Easy Cheesy Broccoli Soup
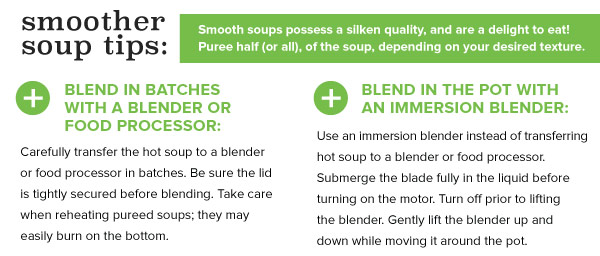
Smoother Soup Tips
Easy Cheesy Broccoli Soup
Easy Cheesy Broccoli soup
recipetwo Chicken Pot Pie Soup
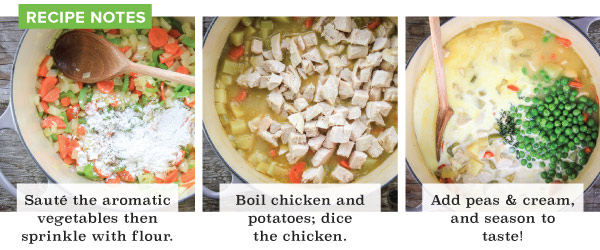
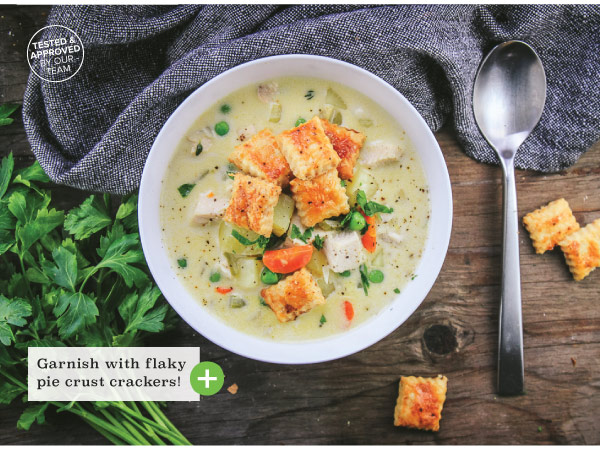
Chicken Pot Pie Soup
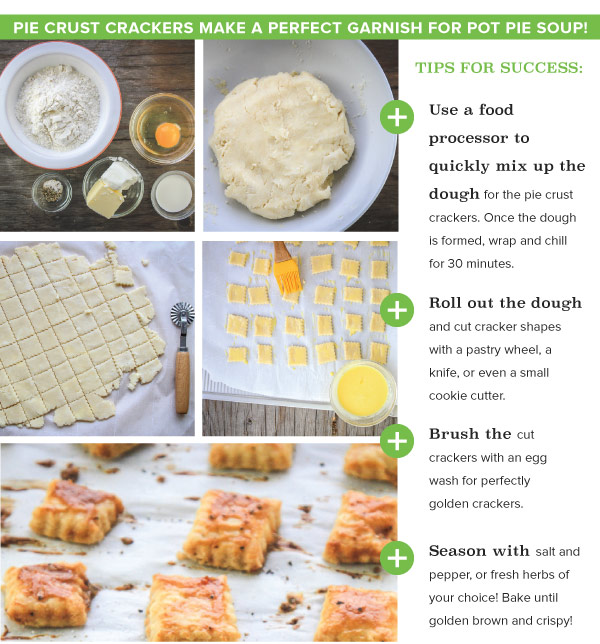
Pie Crust Crackers
Chicken Pot Pie Soup
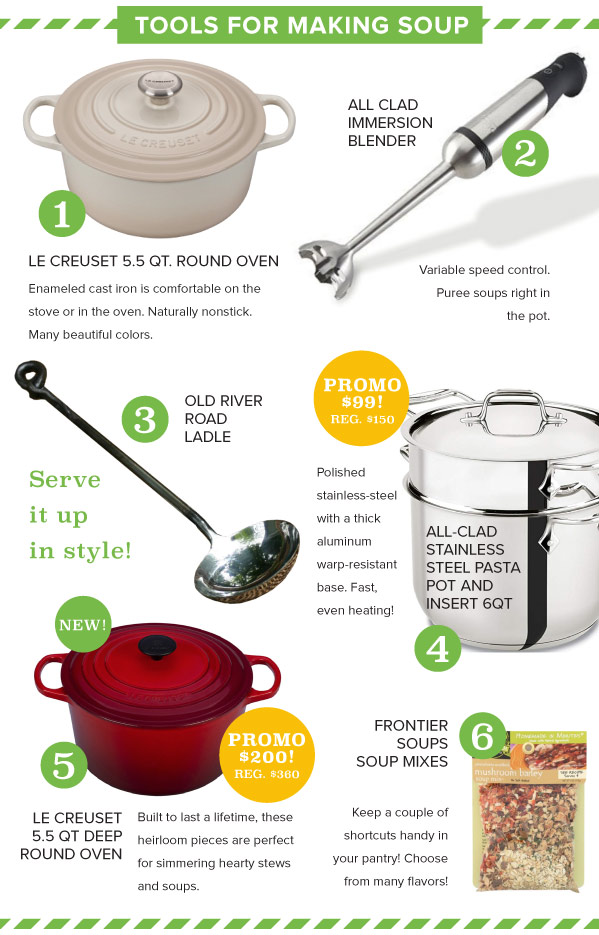
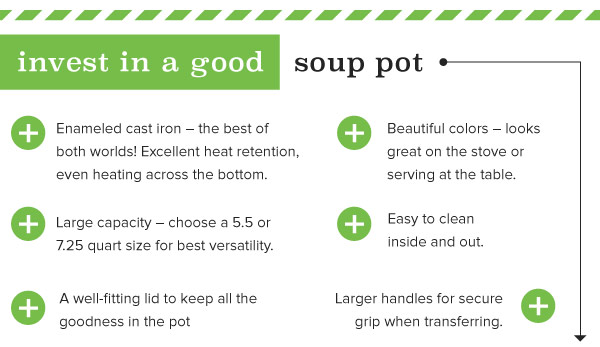
Invest in a Good Soup Pot
recipethree Lasagna Soup with Sausage and Kale
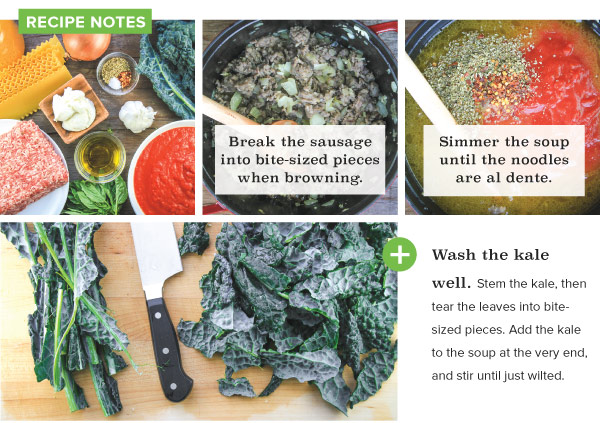
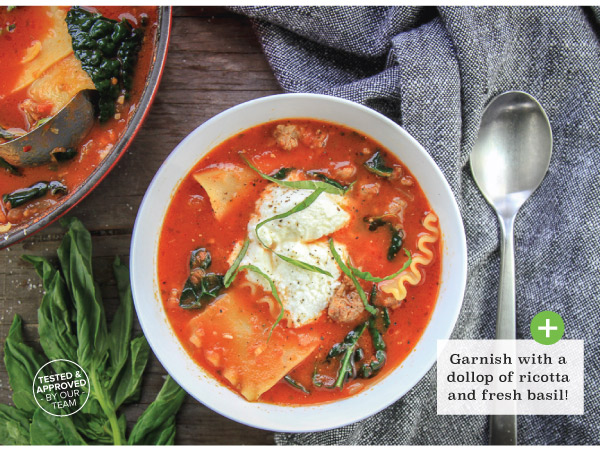
Lasagna Soup with Sausage and Kale
Spacer


Happy Cooking!

Kathy Magaluk and all of us at Acorn Farm 

May 9, 2019 - Crepes for Mom

Make Crepes for Mom! Mother's Day = Sunday, May 12
Make Crepes for Mom
Make Crepes for Mom
Recipes
Classes and Events
Intro
Museware
E-Cloth
Vitamix
Steak Knives
Facebook
Featured Products
recipeone Make Crepes for Mom
Guide to Making Crepes
Prepare Desired Fillings
Make the Crepes
Assemble the Crepes
recipetwo Make Crepes for Mom
Make Crepes for Mom
Inspiration
Inspiration
recipethree Make Crepes for Mom
Make Crepes for Mom
Spacer


Happy Cooking!

Kathy Magaluk and all of us at Acorn Farm